On The Bench
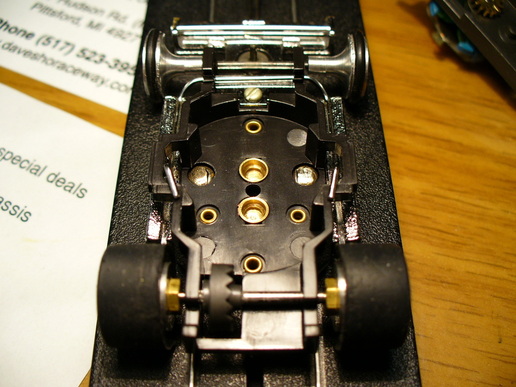
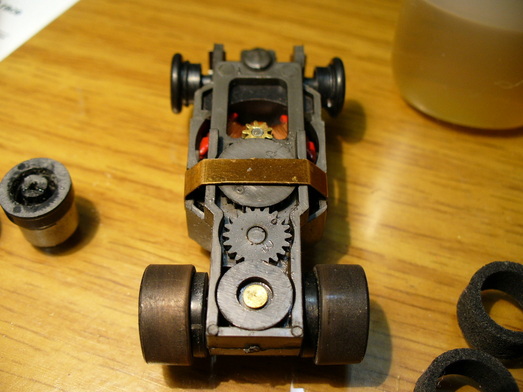
Aurora Super II Built From Parts

It is getting hard to find super II parts. If you can find them, they can be a little high priced. Don't let that stop you from enjoying a true classic slot car. This is a series of 3 projects. Each being a little different.
Parts list;
-super II lexan body and cockpit
-after market rear wing
- Super II chassis
- super II magnets
- Quadralam armature
- super II side weights and front weight
- AJ aluminum wheel sets front and rear
- standard motor plate
Parts list;
-super II lexan body and cockpit
-after market rear wing
- Super II chassis
- super II magnets
- Quadralam armature
- super II side weights and front weight
- AJ aluminum wheel sets front and rear
- standard motor plate
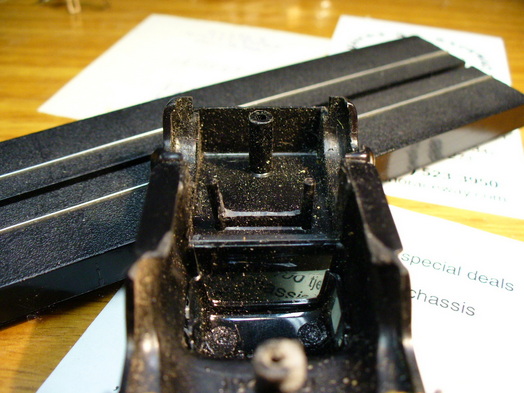
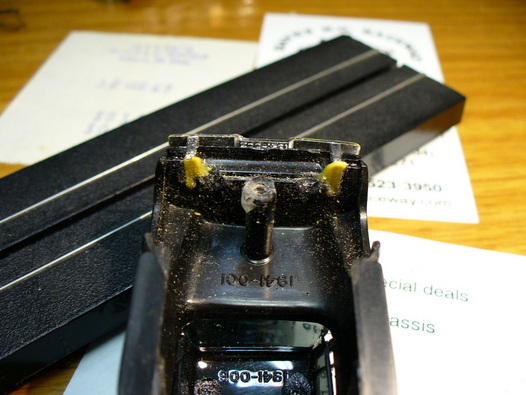
Super II Rear Body Supports
As I said before, it is hard to find super II parts. Top motor plates are one of the harder parts to come by. It is easy to make rear body supports for the lexan body by glueing plastic strips to the outside edge of the motor plate. make sure you make them a little long. Then you can trim them down till you get the right body height.
Porsche 510K Super II Custom
Parts list;
- super II chassis
- super II magnets
- super II side weights and front weight
- AJ aluminum wheel sets front and rear
- blue tip drag armature
- standard motor plate
- super II chassis
- super II magnets
- super II side weights and front weight
- AJ aluminum wheel sets front and rear
- blue tip drag armature
- standard motor plate
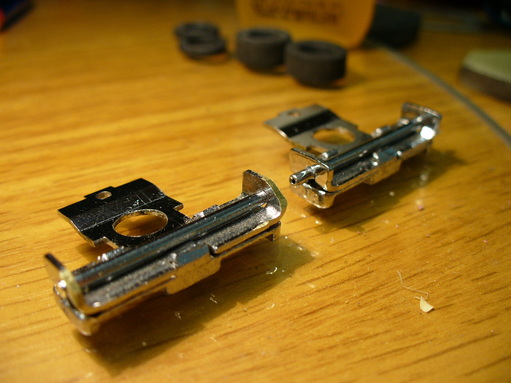
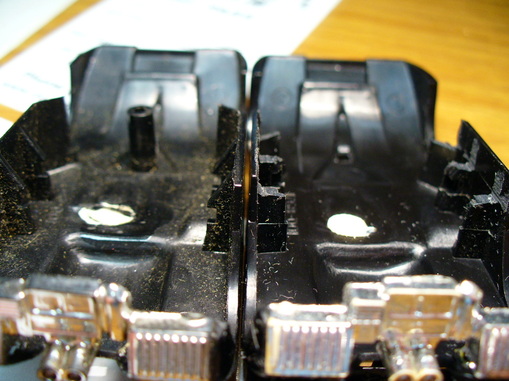
Trim Body For Side Weights
Using a hobby saw very carefully saw down the inside edge of the body far enough for weights to clear the chassis mounting tabs as seen in the photo. Left body has original body tabs. Right body has the trimed body tabs for the side weights.
Modified Front Weight
Cut off the original body mounting pins. File off the front top edge of the weight bracket so it will clear the inside of the body.Weight on right is original. Weight on left is modified. (Refer to the the photo)
Side Weight Adjustment

You will need to adjust the side weight hangers inward so they don't hit the body mounting tabs.
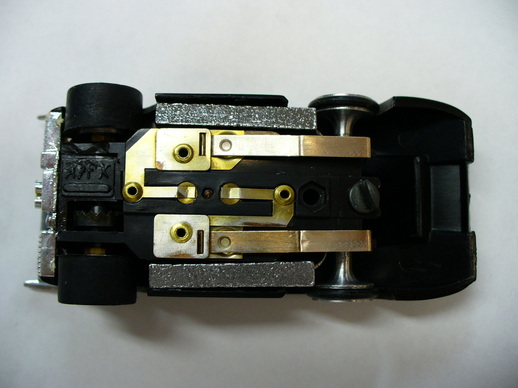
Porsche 510K Bottom View
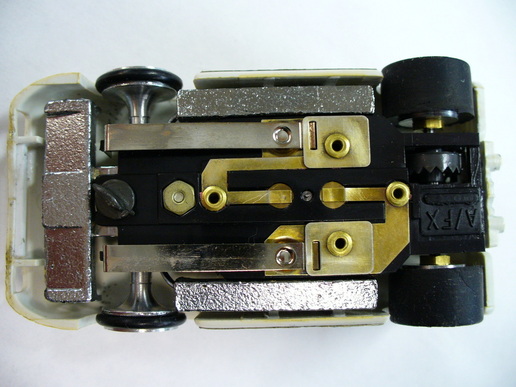
It is a tight fit! But it fits very well.
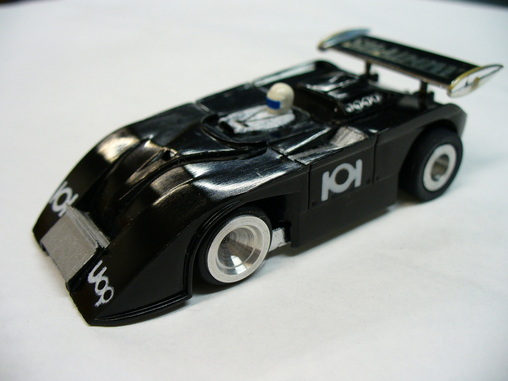
Shadow Can-Am Super II Custom
Parts list;
- super II chassis
- super II magnets
- super II side weights
- AJ aluminum wheels sets front and rear
- green tip / green wire armature
- standard motor plate
- super II chassis
- super II magnets
- super II side weights
- AJ aluminum wheels sets front and rear
- green tip / green wire armature
- standard motor plate
Trim Body For Side Weights
Using a hobby saw very carefully saw down the inside edge of the body far enough for weights to clear the chassis mounting tabs as seen in the photo. Left body has original body tabs. Right body has the trimed body tabs for the side weights.
Note - that the body has to be trimed at the front wheel openings for the side weights.
Note - that the body has to be trimed at the front wheel openings for the side weights.
Side Weight Adjustment
You will need to adjust the side weight hangers inward so they don't hit the body mounting tabs.
Shadow Can-Am Bottom View
It is a tight fit! But it fits very well.
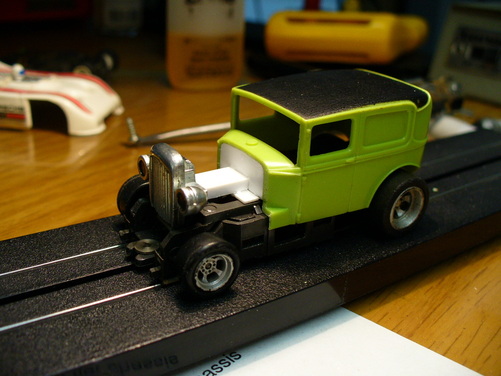
From Junk Box To Custom Hot Rod
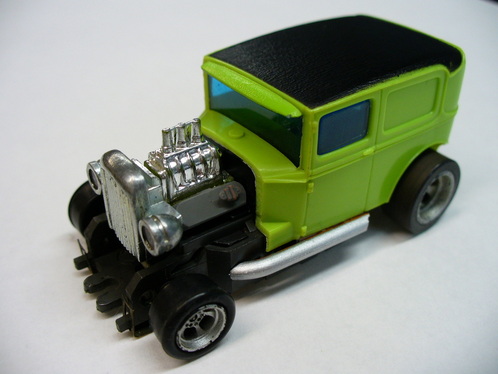
If you have ever dug thru your spare parts and thought, what could I do with that old junk body?
Use your imagination and keep looking for parts. Yes you may need to make some of the parts but before to long you will have a one of a kind slot car.
Use your imagination and keep looking for parts. Yes you may need to make some of the parts but before to long you will have a one of a kind slot car.
The body that I have used is a AFX 32 ford sedan and a spare 4 gear chassis.
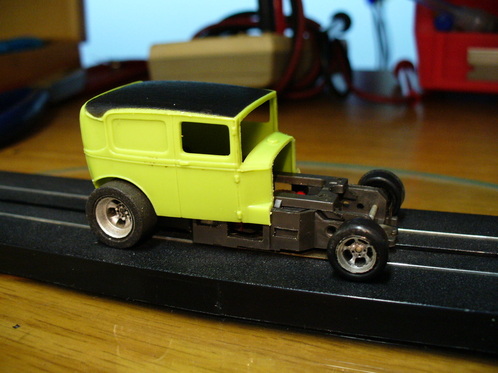
Using a hobby saw I have cut the hood off at the firewall.
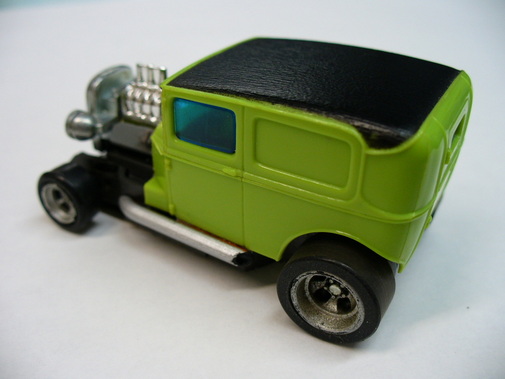
I have made body mounts at the rear inside the body. (later photo shows the mounts)
Using a hobby saw I have cut the hood off at the firewall.
I have made body mounts at the rear inside the body. (later photo shows the mounts)
I have made a firewall from sheet plastic.
The radiator grill and headlights are from a hot wheels T-bucket and happens to be diecast metal which will add weight to keep the guild pin in the slot. Plastic stock was used for cross support at the front of the body and for the main front structure where every thing is attached .
The radiator grill and headlights are from a hot wheels T-bucket and happens to be diecast metal which will add weight to keep the guild pin in the slot. Plastic stock was used for cross support at the front of the body and for the main front structure where every thing is attached .
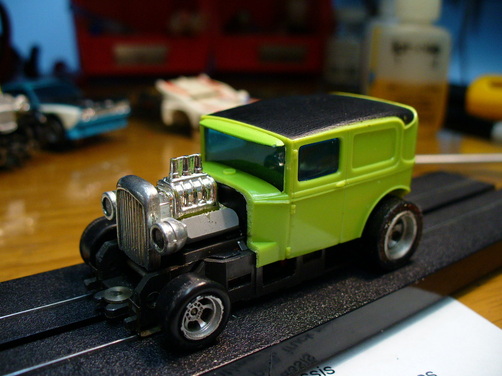
The engine blower is from a donar AFX pease tank and was cut down to fit. The cylinder heads are made from plastic stock.
It was a challenge to come up with side pipes. What I used was sprue plastic. Model kits use this plastic to hold the parts for the kit after they were molded. ( you know the part you throw away with the kit box)
Keep in mind that the body should be removable in one piece so you can repair or replace the chassis as needed.
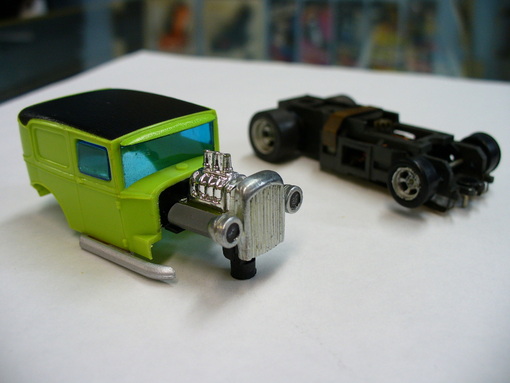
Note the screw post behind the grill for mounting the body to the 4 gear chassis.
Note the screw post behind the grill for mounting the body to the 4 gear chassis.
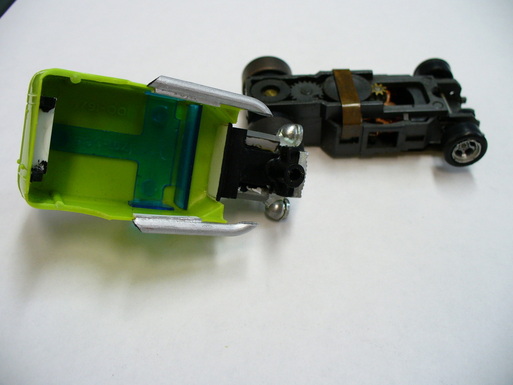
The inside view of the body shows the rear body mount and side pipe mounting.
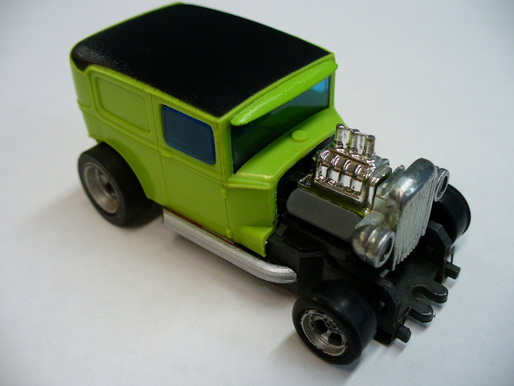
Thats is it for this project! With a little time and alot of fun you can have a new slot car for your collection that is a one of a kind.
Enjoy! Scott
Enjoy! Scott
How To Bleach Car Bodys White Again
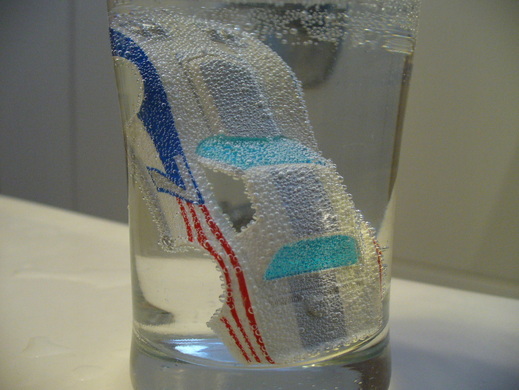
White car bodys are often discolored from age, sunlight, smoke,ect. This process works very well. First remove any chrome from car body. Fill a clear glass full of Hydrogen Peroxide. Place the body in the glass. This does require sun light to activate the peroxide. Place in a window with a good source of sunlight. Bubbles will form starting the process. It may take several days to complete the
process. Rince with water and you will have a car body that looks like new again.
process. Rince with water and you will have a car body that looks like new again.
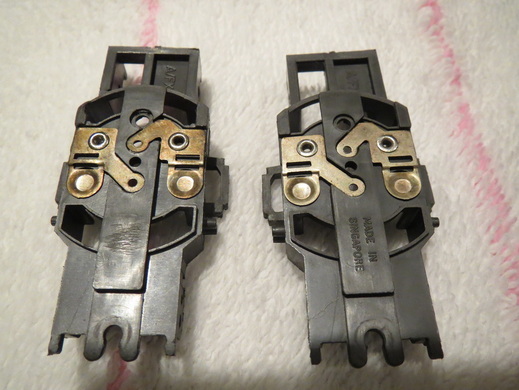
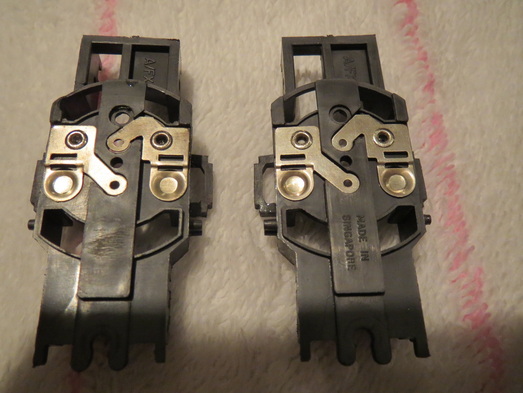
Restoring Chassis To New Condition
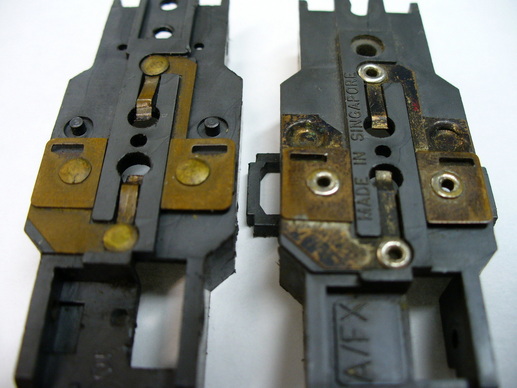
This is very common for chassis to age with a tarnished look.
The problem with a tarnished chassis is poor electricial contact and flow of current (amps). Here is a easy fix that will restore your chassis to new condition. Distilled Vinegar is the cure! Fill a glass with vinegar and add the chassis. In a short time, (less than 2 hours in most cases). Wash chassis with dish soap and water. Blow dry with air before you reassemble you new looking chassis. This works well with gears and pickup shoes also.
Top photo - BEFORE
Bottom photo - AFTER
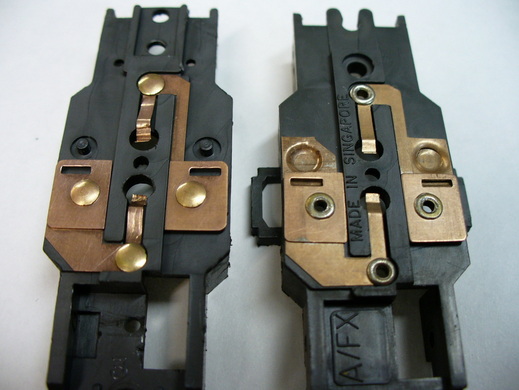
Cleaning Silver Plated AFX Chassis
I
recieved an email from Raz in Canada asking for help with cleaning silver plated AFX chassis. Offered an idea and Raz came up with a product that works.
This is what he did, I found this stuff at home depot called tarn x and it worked awesome. I soaked
the chassis in it for about two mins and rinsed in warm soapy water. check out
the pictures. Raz
Top Photo: Before
Bottom Photo: After
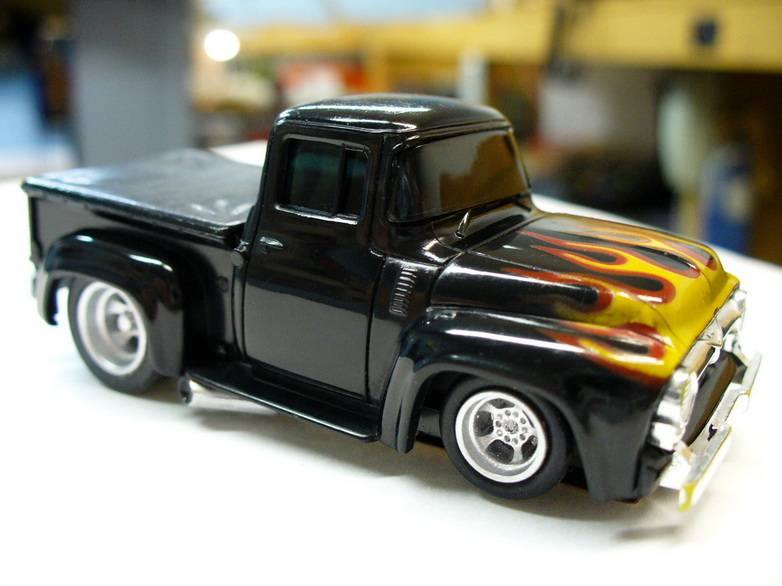
Custom Lowered 56 Ford Pickup
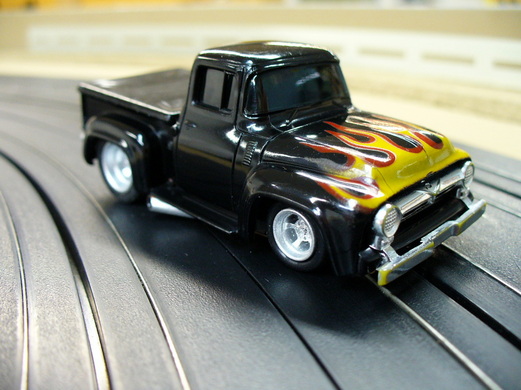
From junk box to VERY COOL custom. This is an original AFX 4 gear pickup far from mint. That said, custom is the next choose for restoration.
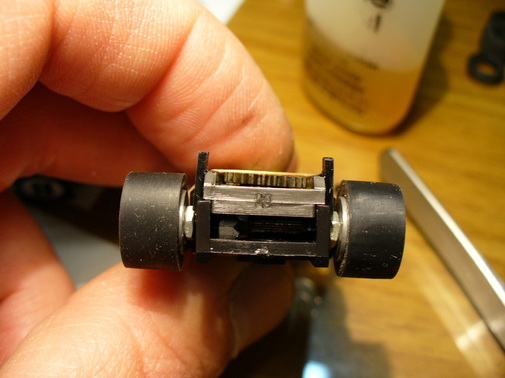
Narrow Wheels
First step is to make the wheels fit inside the fenders. Sand the side of the wheels that is closest to the chassis (inside). check fit often. Don't take to much off! This will need to be done to both front and back. Match the front wheels outside to outside so it is the same as the rear.
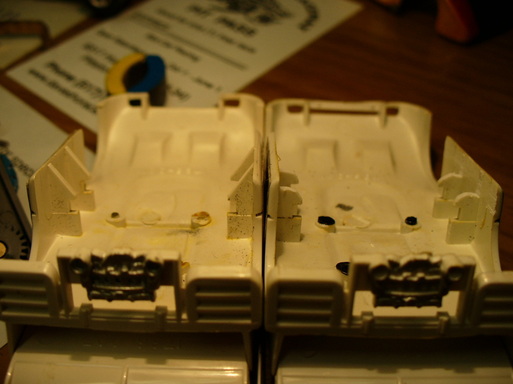
Trim Rear Body Mount
Take your time triming the rear body mount checking fit often. You don't want to take off to much of the mount because you can't put it back on. work slowly!
Trim Front Of Body
Remove a small amount of the front edge of the body just inside of were the front bumper is attached. This will allow the chassis to set deeper into the body. File the front screw post as needed.
Test Fit The Body
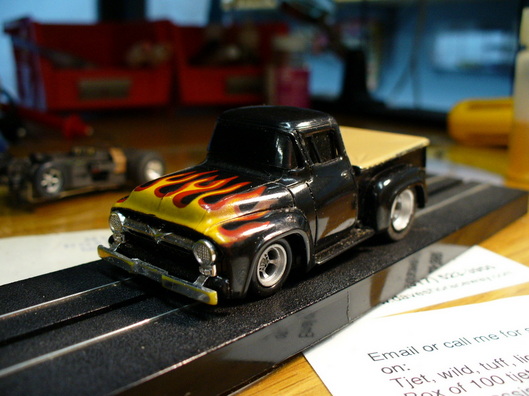
As you trim the mounts check body fit often. If you go to far it will be hard to fix. Take your time!
Finishing Touch
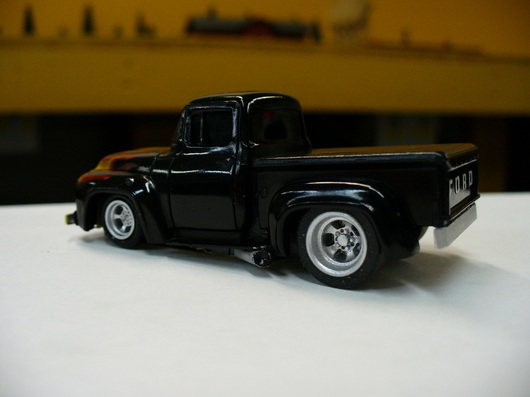
From this point on the details are up to you. I have added a homemade rear bumper and exhaust pipes.
Again, with a little time and careful work, you will have a Very Cool custom 56 Ford pickup to add to you collection.
Enjoy!
Again, with a little time and careful work, you will have a Very Cool custom 56 Ford pickup to add to you collection.
Enjoy!